


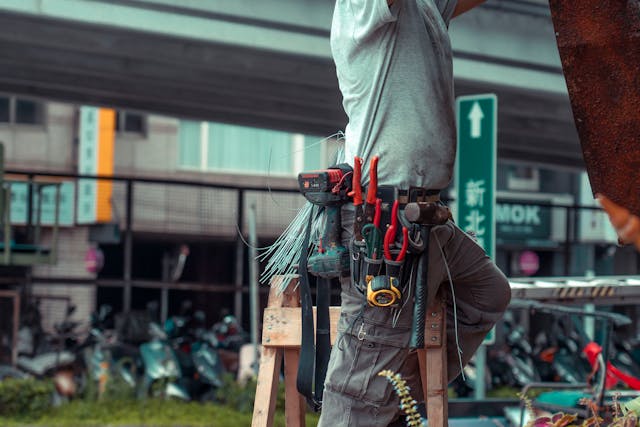
For plumbing and HVAC jobs, having the right tools is very important. A pipe flare tool is an important tool you need. When working with copper tubes for refrigeration or preparing pipes for gas lines, making a good flare is important for safe and leak-free connections. With so many choices out there, how do you pick the best one? This guide will explain everything you need to know about pipe bending tools. It will cover the different types and help you choose the right one for your needs. If you’re ready to explore pipe flare tools, let’s go!
Types of Pipe Flaring Tools
When it comes to long engineering pipe flaring tools, variety is the spice of life. Each type has a specific role and meets different needs.
Manual flare tools are popular among DIY fans. They need physical work but provide accuracy for small jobs. These tools usually have a simple design, making them great for casual use.
Hydraulic flaring tools improve productivity. They can easily manage bigger pipes thanks to their power source. This makes them good for workplaces where quickness is important.
Rotary flare tools offer another choice. They spin at the end of the pipe to make a smooth flare without requiring much effort from the user.
There are also electric flare tools that make the process even easier. Just plug them in and let technology work for you—perfect for people who like automation instead of doing things by hand!

Things to Think About When Picking a Pipe Flaring Tool
When choosing a pipe flare tool, it’s important to ensure that it’s compatible with the materials you are using. Think about the kinds of pipes you’ll use: copper, aluminium, or steel. Each object needs to be handled in a certain way to keep it strong and working well.
Next, consider the sizes of the parts you require. Some tools are made for small sizes, while others can handle bigger ones. Choosing one option that meets all your needs can save you time and money later.
It’s important for things to be easy to use. Find styles that are comfortable to use and lessen strain while working. A lightweight form makes it easier to carry and use on job sites.
Remember to use tools like alignment guides or movable stops for better accuracy. These improvements ensure that flares are exact every time, providing a secure seal that doesn’t leak.
Keep your price in mind, but don’t sacrifice quality. Investing in a good brand usually results in better quality and a longer lifespan.
A Simple Guide to Using a Pipe Flaring Tool
Using a pipe flaring tool might seem tricky at first, but with proper instructions, it can be an easy job. Let’s go through the steps to help you make clean and precise flares.
First, collect your tools. You’ll need a pipe flaring tool, copper or aluminium tube, a cutting tool, and safety glasses. Safety is important; always wear safety gear when working on projects.
First, measure how long the pipe is that you want to bend. Use a pen to show where you will cut. Use your cutting tool to carefully cut through the tube at this mark. Cut straight for better results later.
After cutting the pipe, use a deburring tool or file to smooth out both sides and remove any sharp edges. This step reduces risks during flaring and makes sure links fit well.
Next, make sure to firmly hold your tubing in the flaring tool’s clamp. This will keep it from moving while you work. It’s important that everything stays steady during this process.
Now it’s time for the flashing action! Place the cone-shaped bit on one end of the sealed tube. Slowly turn the handle until you feel resistance. This means you have made a smooth flare shape at about a 45-degree angle from where you cut.
Once it is done, gently take it out from the clamps without using too much force, as this could bend the new flare edge. Make sure it’s even all over. If it’s not, keep repeating the earlier steps and change the pressure until you get the result you want.
Don’t forget: practice helps you get better! Take your time when learning new skills, as it can take a while to master them. However, finishing each job well can lead to great rewards, such as better and longer-lasting plumbing installations that you can depend on!
By being patient and practicing these simple steps, you will be ready to handle future piping installation and repair tasks with ease. This will help you improve your skills and expertise, making tools like these important additions to your toolkit.


